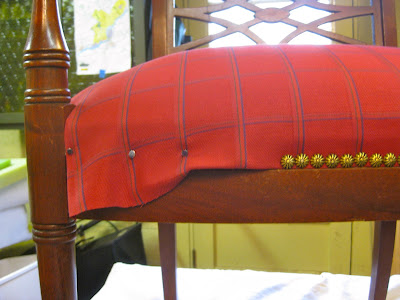
Before...
Deconstruction...
Lots of nails and tacks to remove.
Taking photos along the way provides helpful visual reminders for later reconstruction.
Reconstruction...
Re-glued the loose corner supports and arms.
Added a coat of cherry Restore a Finish on all the wood that shows.
I stretched webbing across the seat bottom and covered it with burlap. Then I added the edge roll for seat support.
For this project I chose 2 inch thick, high density foam, a small piece to provide extra cushioning where the rear end hits the chair covered by a larger section.
Next, a large piece of 1 inch Dacron covered the foam.
By carefully stretching, tacking, and stapling the muslin over all of the padding, I molded the seat close to its original shape.
Cutting the fabric to fit the corners was a challenge. Also, final nailing so that I did not end up with fabric bulges in the corners was tricky. I had to pull nails and restart a few times. I started nailing in the back, then each side, and finished with the front.


Like new! Beautiful!
ReplyDeleteNicely done!
ReplyDelete