Showing posts with label project. Show all posts

Tuesday, April 27, 2021

Preparing for a New Puppy

2 Problems: 

    1. How do we block off the kitchen in preparation for a new puppy? 

    2. The backyard fence is falling apart.

Solution 1: I used plastic lattice from Home Depot to create the right sized gates for our space. It took one 8 x 4 sheet of lattice to make these gates (see photos below).


Hooks and eyes in the back keep the gates secure, and there is no hardware on the front side. The gates are light and easy to unlatch and move.


And there were enough leftover scraps to made this portable stair-blocker.


Solution 2: I replaced the fence with post and rail and new gates. Also checked the perimeter and repaired gaps in the fence.

Before...


Along the way and after...


So far, they work!


Thursday, October 22, 2020

"There's a hole in the bucket, dear Liza"

My problem was that my plastic watering can had hole is the side (I may have accidentally hit it with the weed wacker). 


Out of habit, I went directly to duct tape. That plan didn't work, even after trying to melt the tape and plastic together with my torch. 

Next step was to look on Amazon for a new watering can. But I couldn't pull the trigger. I was throwing away a lot of plastic and buying more: it didn't sit right. So, here's the solution to my problem, and all it took was some sawing, drilling, and Gorilla glue.


Wednesday, August 5, 2020

Kayak Rack Project

New project: I built a kayak rack for four boats. I built it under our existing deck. Will add hooks on the sides to hang two ladders.


Added hooks to the sides to hang ladders:


Monday, July 15, 2019

Can I Cane a Chair?

It's time to learn how to cane chairs.


So far I'm learning a lot from Peerless Rattan, and while I'm waiting for supplies to arrive, I'll take the old caning out of the rocking and corner chairs, and reglue the loose connections in the corner chair.


Old caning removed, chair wiped down, coat of walnut Restore a Finish applied: ready for new caning.


Took the old cane off a third chair. Opened the loose connections and reglued. Painted the corner chair and small arm chair with Rustoleum, Satin, Claret Wine color. I also decided to add 4 angle supports to the corner chair for more stability.


Question: would it be easier to cane the back of the rocker with the piece detached or should I screw it back on the chair first? Fixing a table while I wait for the cane to arrive. 

Found a drying rack to hang my strand cane. 


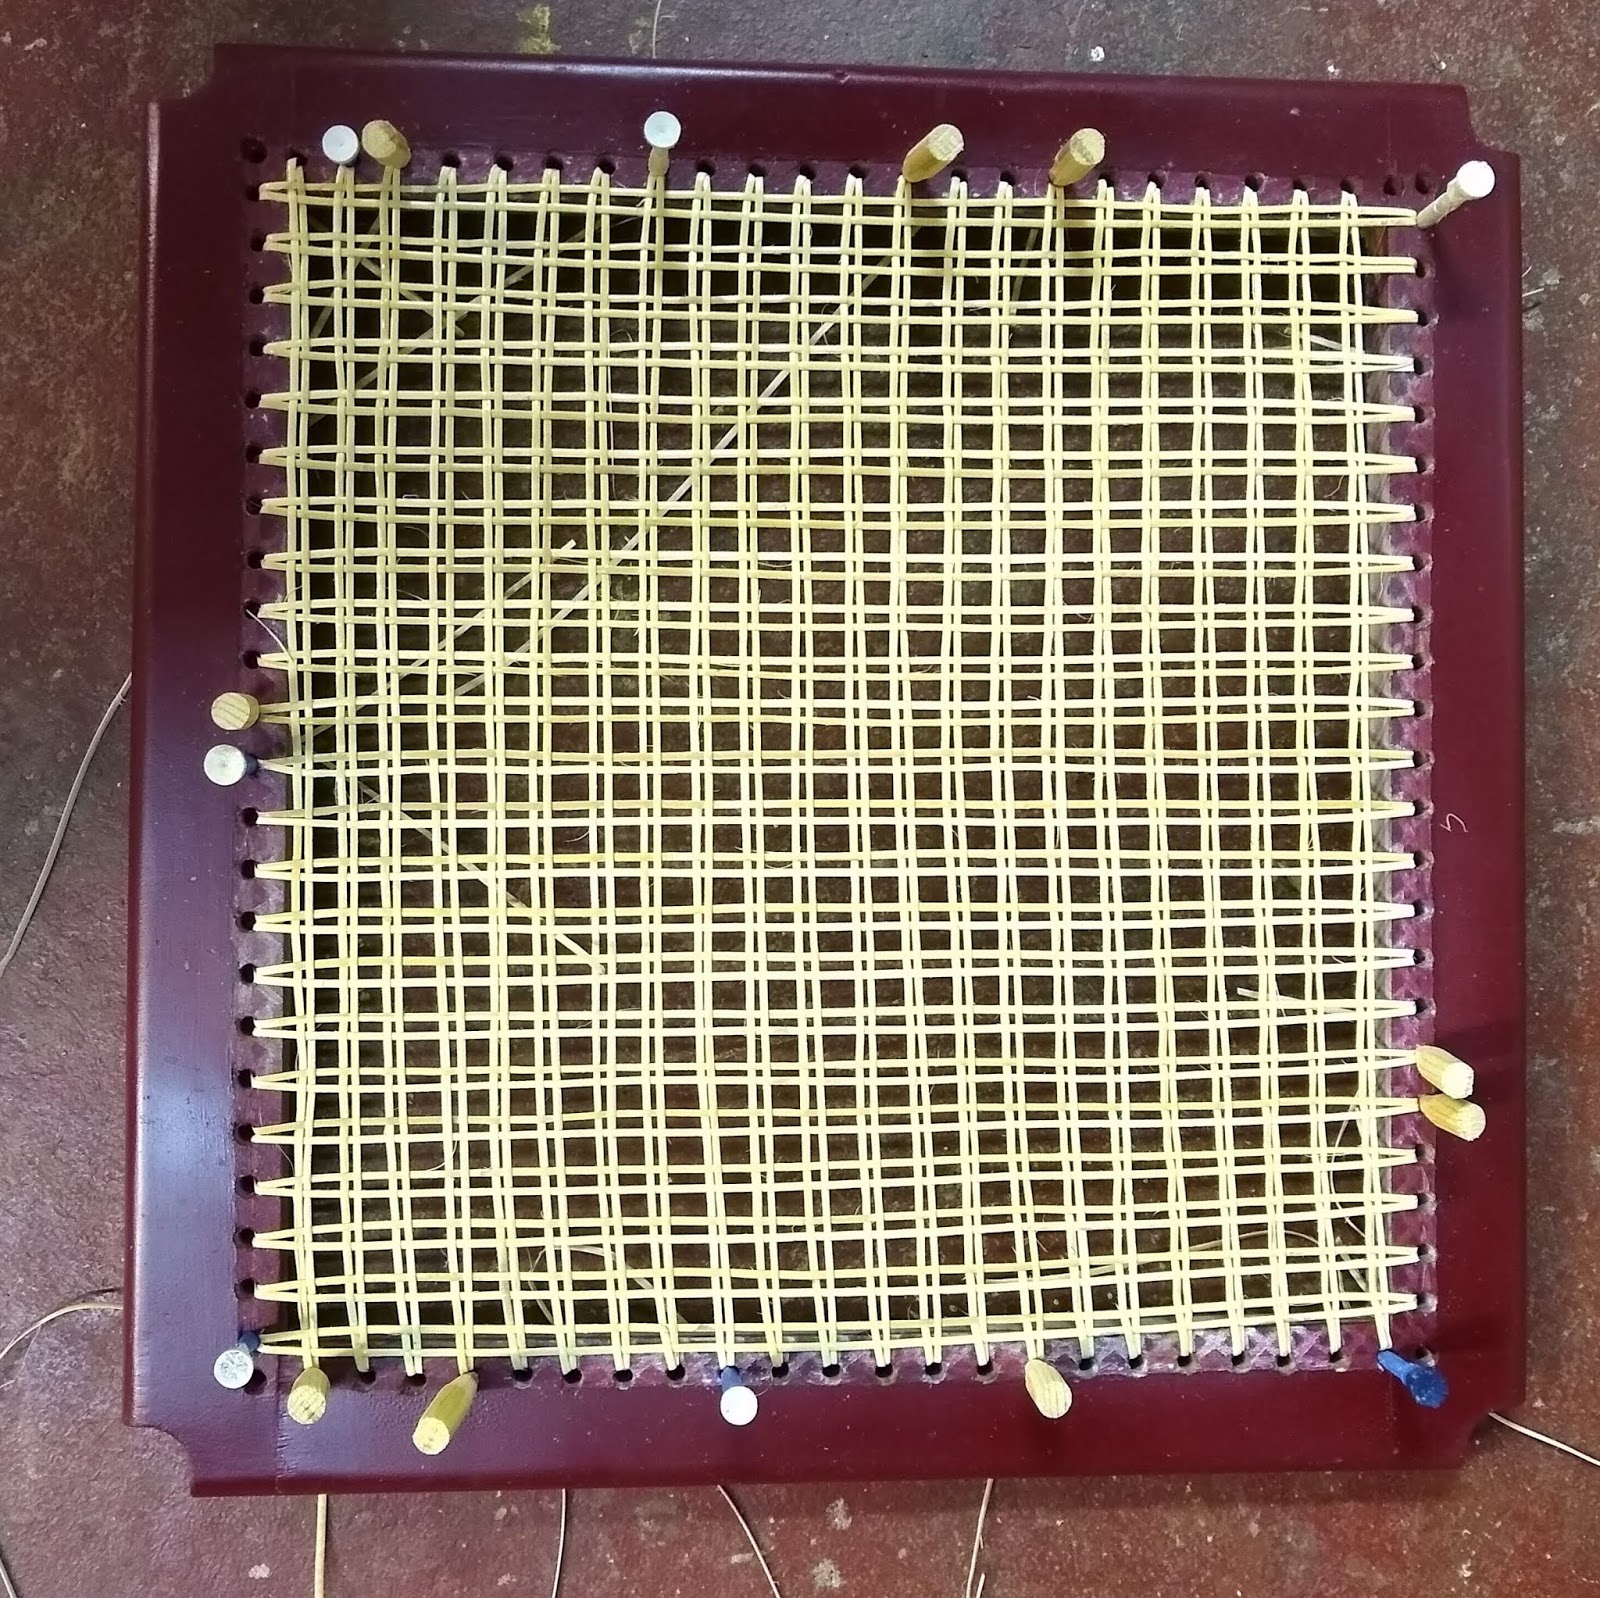
Decided to begin with the red corner chair because the seat is square and removable. I'm getting help from a very clear YouTube video: Weaving a Cane Seat Using the 7 Step Method created by Ed and Cindy Hammond. Here's a phot0 of beginning Step 1:


Step 1 completed:


Step 2 completed:


Step 3 completed and Step 4 started:


The perfect combination: tedious step 4  and day 2 of the British Open.


Step 4 done!


Photo of Step 5 completed:


Step 6 done, on to Step 7--binding the edges.


Finished project:


Saturday, March 5, 2016

Footstool Reconstruction


Here's where I left off at the end of 
Below are photos of putting the footstool back together again.