So named by my niece, this Puzzle Susan sits atop a card table and swivels when you need to sort pieces that are out of reach. If you want to make one, here are the directions and some photos.
Supplies:

1. Order a Lazy Susan, 18 Inch Plastic Rotating Turntable (Icasa brand with Steel Ball Bearings, ABS+PC Material, 66 lbs Capacity) from Amazon.
2. Lowes will cut a 4x4x 1/2 sheet of plywood down to 36 x 36 inches. Pick up two 8ft by 3/4 inch pieces of pine trim for the edges. You will also need a small can of Minwax Wood Finish, color of your choice.
3. Amazon also sells 36x36 pieces of green felt, wood glue, and spray glue.
Steps:
First, paint the underside of the plywood.
Second, cut the first piece of trim to size by holding it in place and marking where to cut with a pencil--you're making a beveled miter joint. Remember to adjust your cut for the kerf--carefully sized trim will make great looking corners.
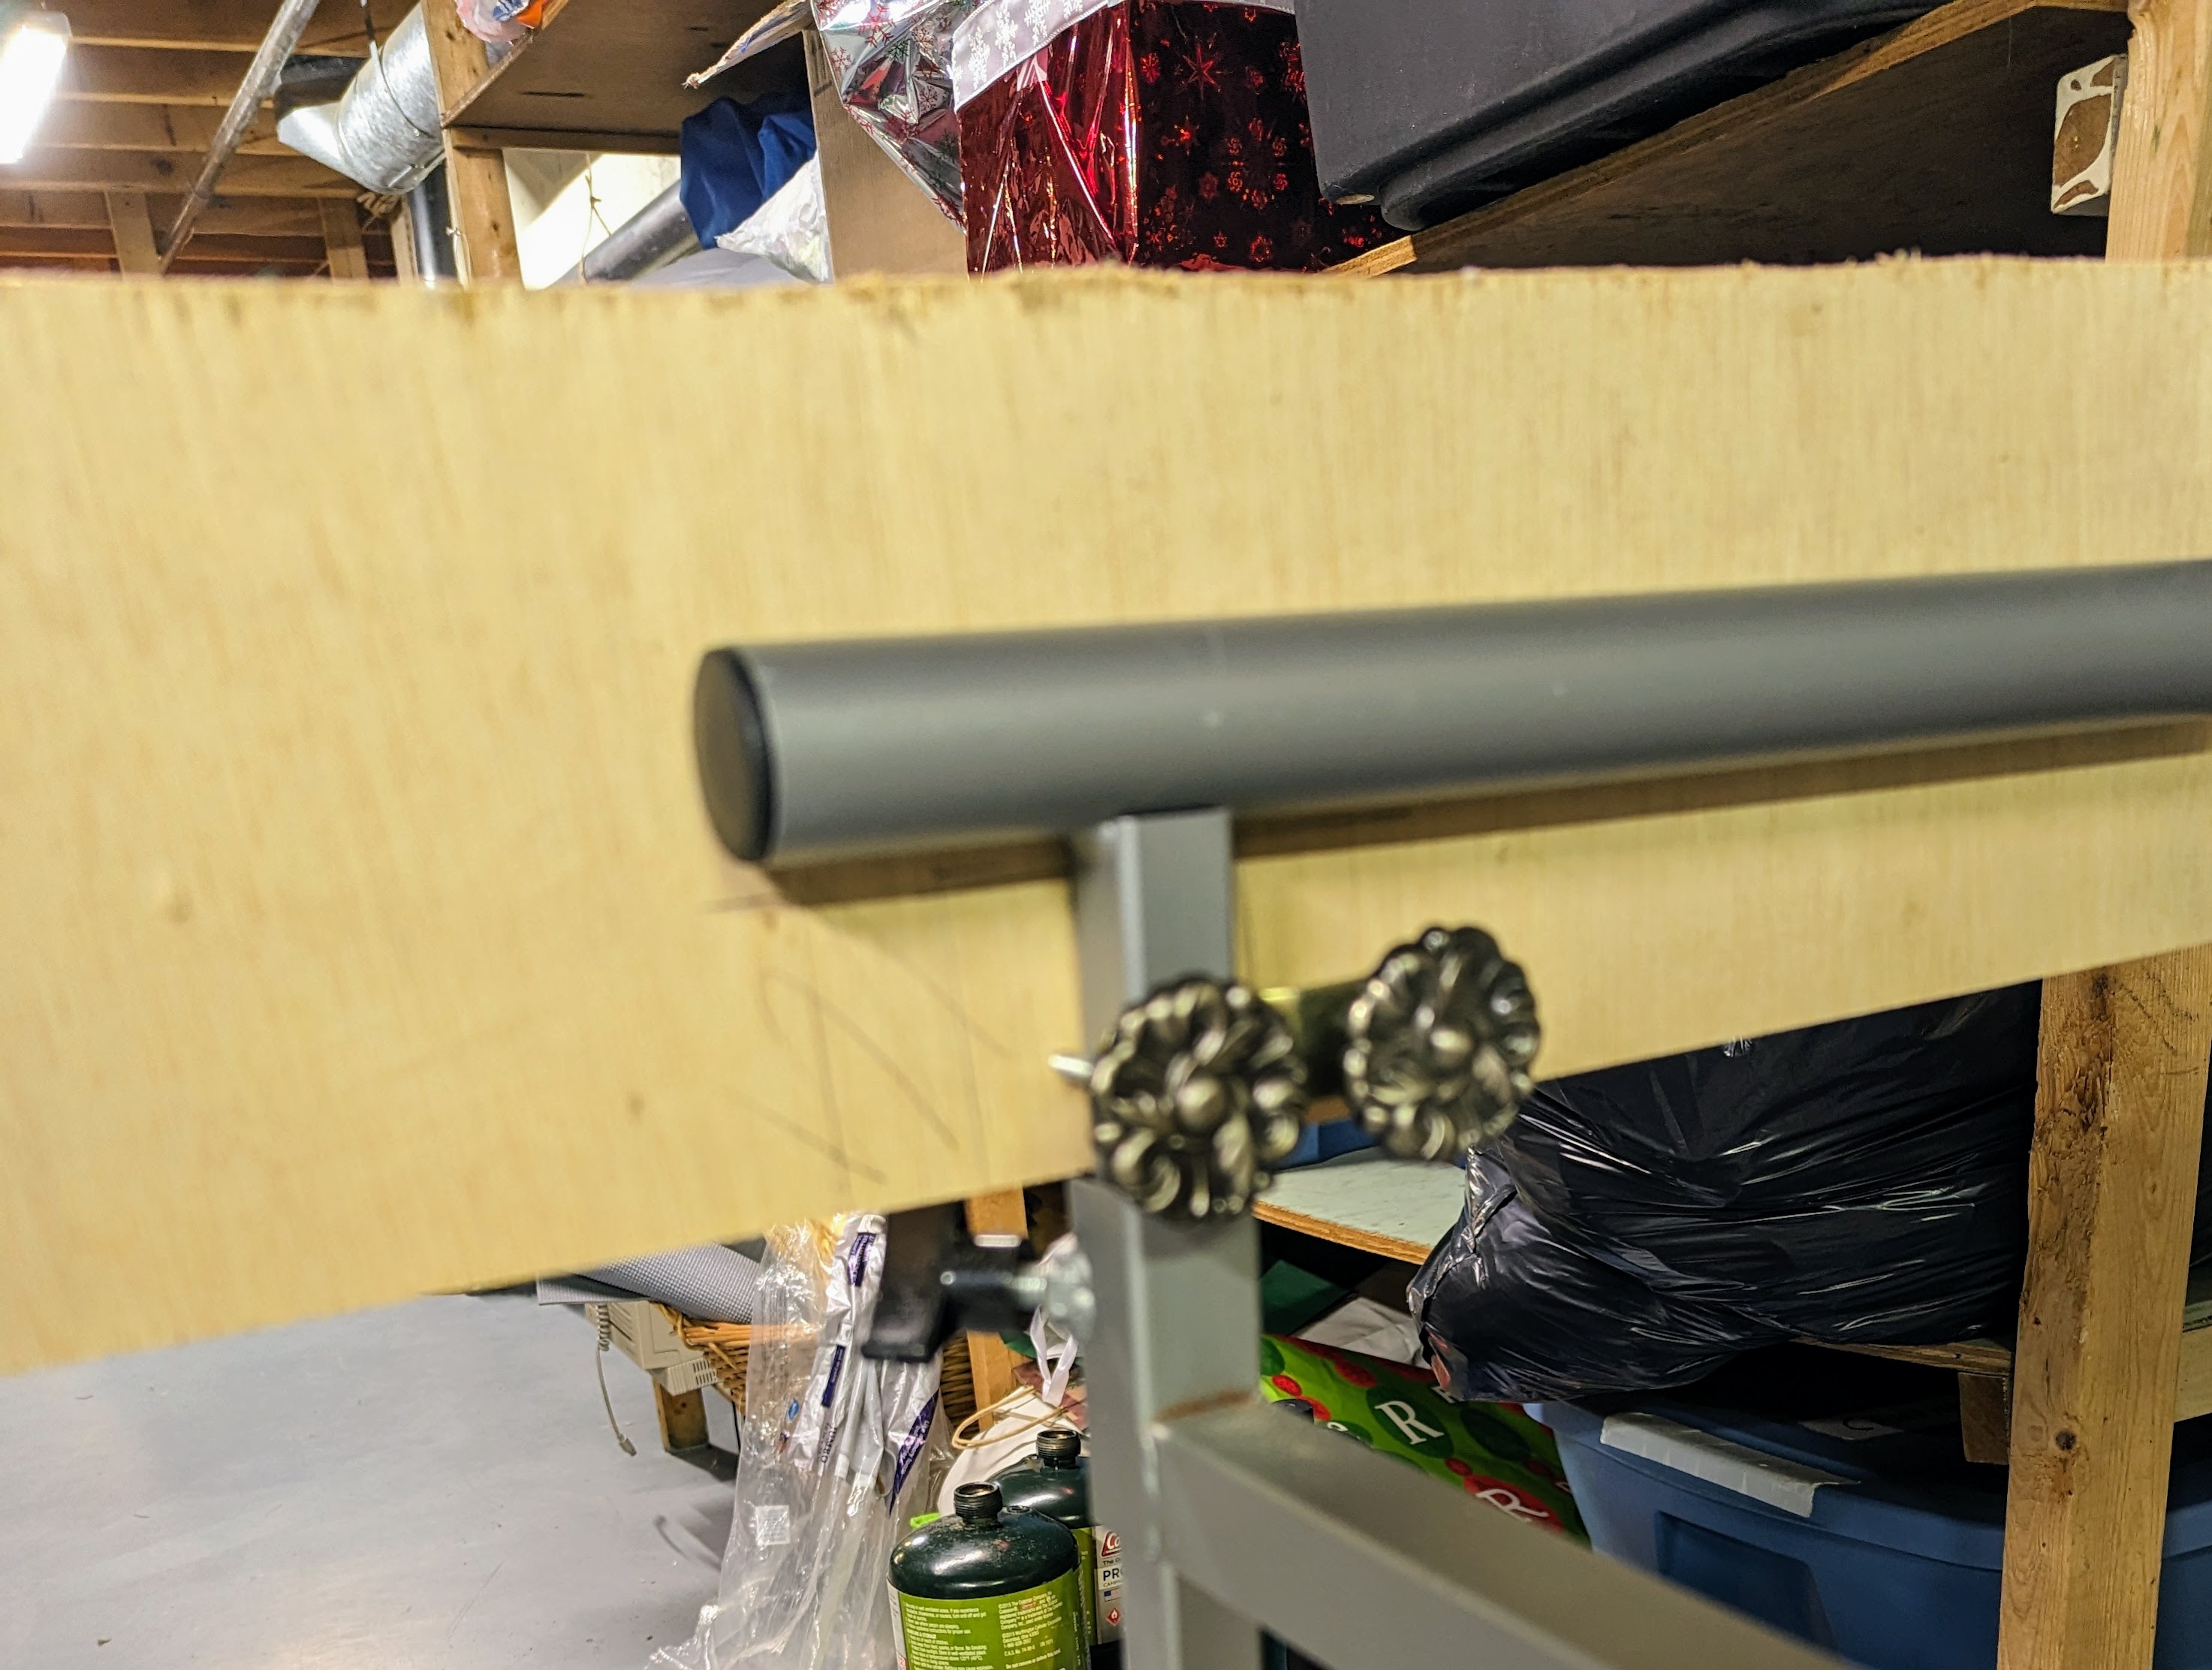
Third, glue and clamp the first piece of trim onto the plywood. Gluing tip: Put strips of clear packing tape under the edges when gluing. This enables easy separation once the glue has dried. Here's a photo of how I clamped the trim to the plywood.
Fourth, rotate the plywood and repeat steps two and three above (three more times). It's important to cut and glue the pieces individually so you can measure against the previously glued piece of trim for accuracyFifth, stain the trim with Minwax Wood Finish. If you prefer, you can paint the trim (I recommend a gloss finish).
Sixth, glue the felt to the board. Use spray glue for this step. Fold half over, spray glue on board and the back of the felt; fold other half and repeat.
Sixth, attach Lazy Susan hardware to the bottom -- and it's done!