

Jeff and his colleagues are outstanding teachers, and I was completely captivated by the class. Later, I found myself thinking about two ideas educators toss around as we consider how best to help our students develop their skills: project-based and differentiated learning. My woodworking teachers designed experiences for us that employed both practices successfully.
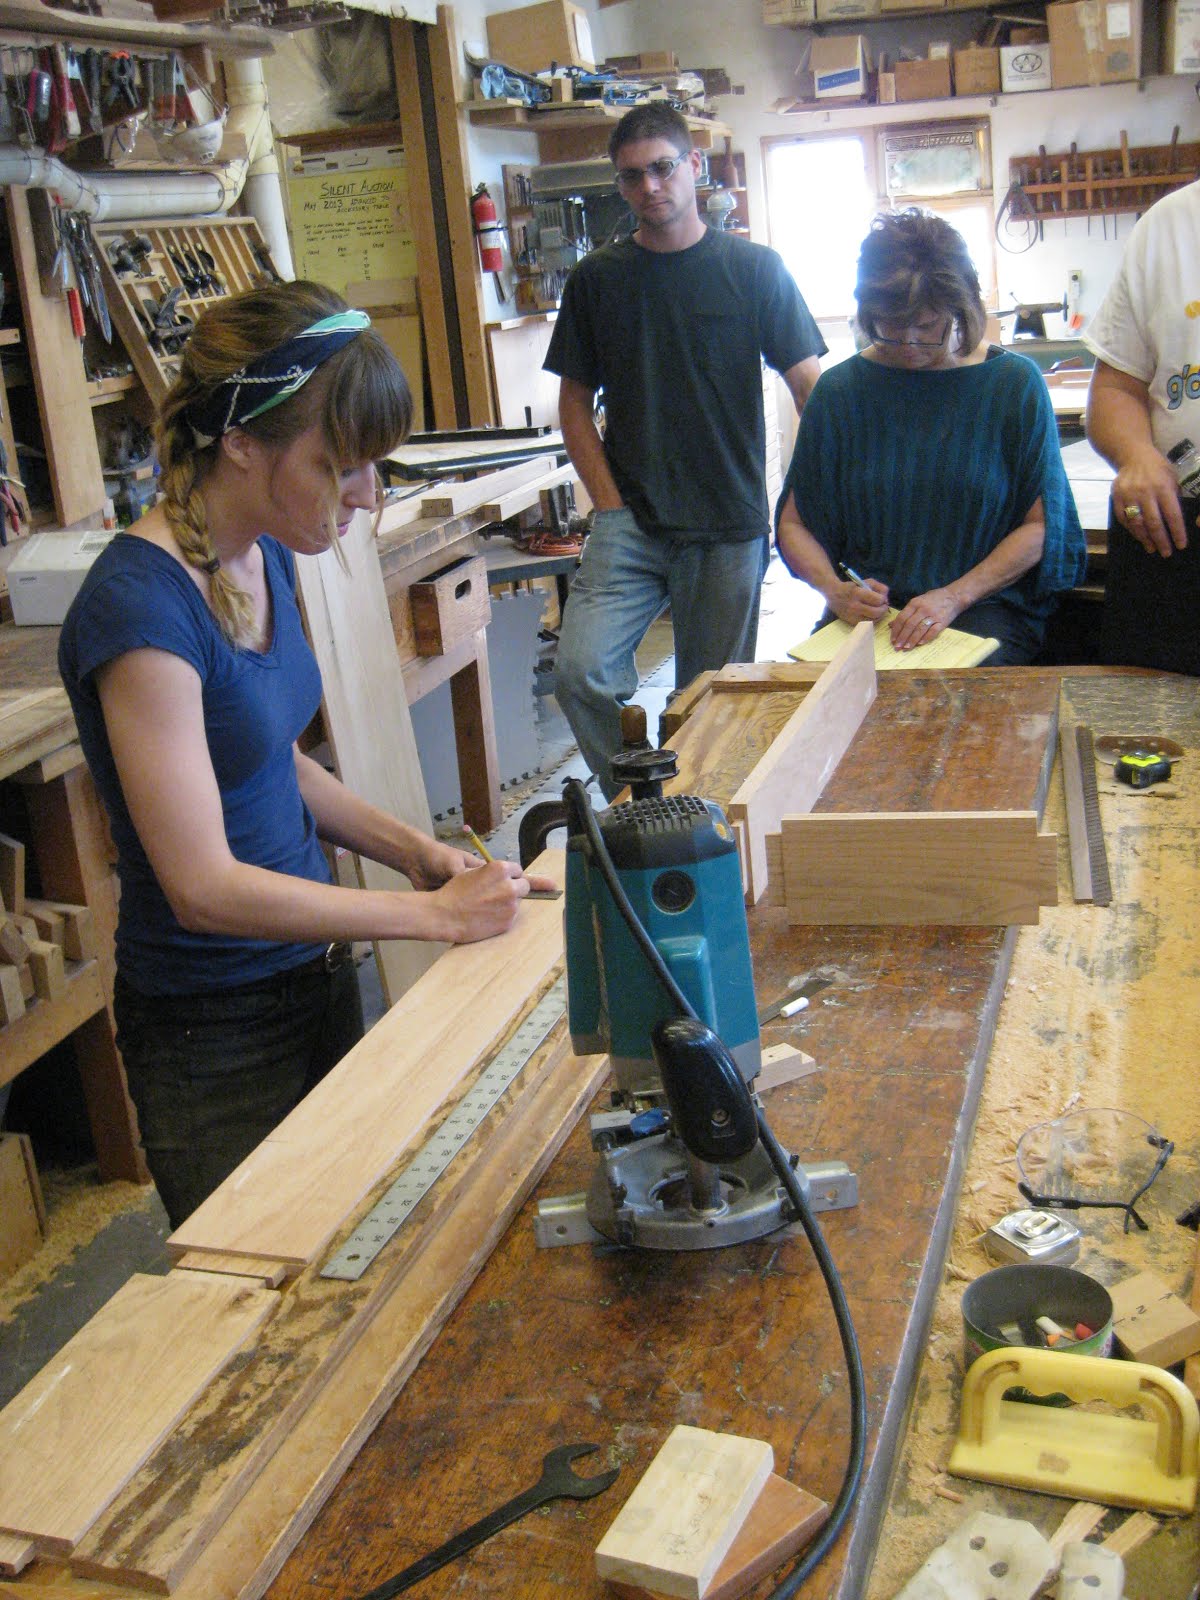
Here are a few observations interspersed with photos of the project and our time together.


While the week-long course was project based, Jeff reminded us repeatedly...
"It is not about the project--it is about what you learn in the process."
"It is not about the project--it is about what you learn in the process."

"All things will be revealed."
This statement was carved into a large sign hanging high on the wall, and it was repeated throughout course. Our teachers reminded us to avoid getting ahead of ourselves and to focus carefully on each step of the project.


I learned a lot about wood, woodworking techniques, and various tools and machines. Some of the lessons I will remember because of my mistakes. For example, we received clear instructions about how to sand our work. Later in the day when I started, I found myself unsure about a specific step. I went ahead anyway with a guess. Why didn't I simply ask for help from those around me? What did I learn?
- Hand sand the mortise face of the leg to avoid rounding the edges with an electric sander.
- Ask questions when they arise.


Some observations about project-based and differentiated learning:
- The course ran Monday through Saturday, from 8-4:30: large blocks of time work best; follow each (brief) instruction segment with lab time for application.
- While the project may not be as important as the process, the end product inspires motivation and clarifies theory.
- During lab time answer all questions as soon as possible: the ratio of 4 teachers for 11 students was essential for successful learning.
- "Showing" is more powerful than "telling." Demonstrate often.
- There were at least three different skill levels among the students--and the course still worked. Differentiated instruction was possible because there were four teachers: we received individual attention when we needed it. And the teachers exercised heroic patience.
 .
. 
Reflections on teaching and learning:
- Is it possible to design and implement successful project-based learning in a more traditional school where students take at least five subjects and have only one or two larger blocks of time every six days?
- To what degree is differentiated instruction possible if I am teaching four sections of English alone? What is the best way to address each student's questions and needs in a timely fashion? Google docs certainly helps tighten the feedback loop, but how else can we reproduce--in a more traditional school setting--the deep learning and engagement I experienced in this week-long woodworking class?
- And what about the connection between student engagement and learning? I want to learn more about woodworking, and personal interest makes a big difference in my focus and effort. Not all of my students have that same desire or motivation in a required English class. My woodworking teachers' passion for their craft was inspiring: maybe start there.


