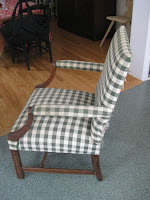
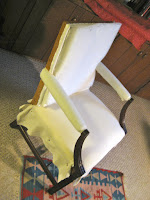
The adventure began with a Main Line School Night upholstery class run by Patrick Seyler, a professional upholsterer, and this chair.
After learning some interesting history and theory about upholstery, we began the first step: take the chair apart.


Gloves were essential when removing the countless nails, tacks and staples. Photographing (and labeling when necessary) each section provided reference points when it was time to put the chair back together.
The second step was to work on the wood, one of my favorite parts of the process. I took apart wobbly legs and arms and glued them back together. Holes and chewed up surfaces that would no longer hold tacks or staples needed to be repaired. I mixed wood shavings with glue to create patches for larger holes. The shavings provided a consistency that held staples--glue by itself cracks when stapled. I stapled cardboard strips to recreate edges that were worn away.


Once the wood was repaired, I used Restore A Finish to bring all visible parts back to life.
Some essential tools (left to right): pliers, scissors, sharpie, tape measure, magnetic tack hammer, upholstery knife, tacks, regulator, staple remover, staple gun. Not pictured: web stretcher
The third step was to rebuild the body around the skeleton by adding the webbing, burlap, edge roll, foam, padding, muslin, and fabric. And a pneumatic staple gun saved a whole lot of time and energy.


No comments:
Post a Comment